
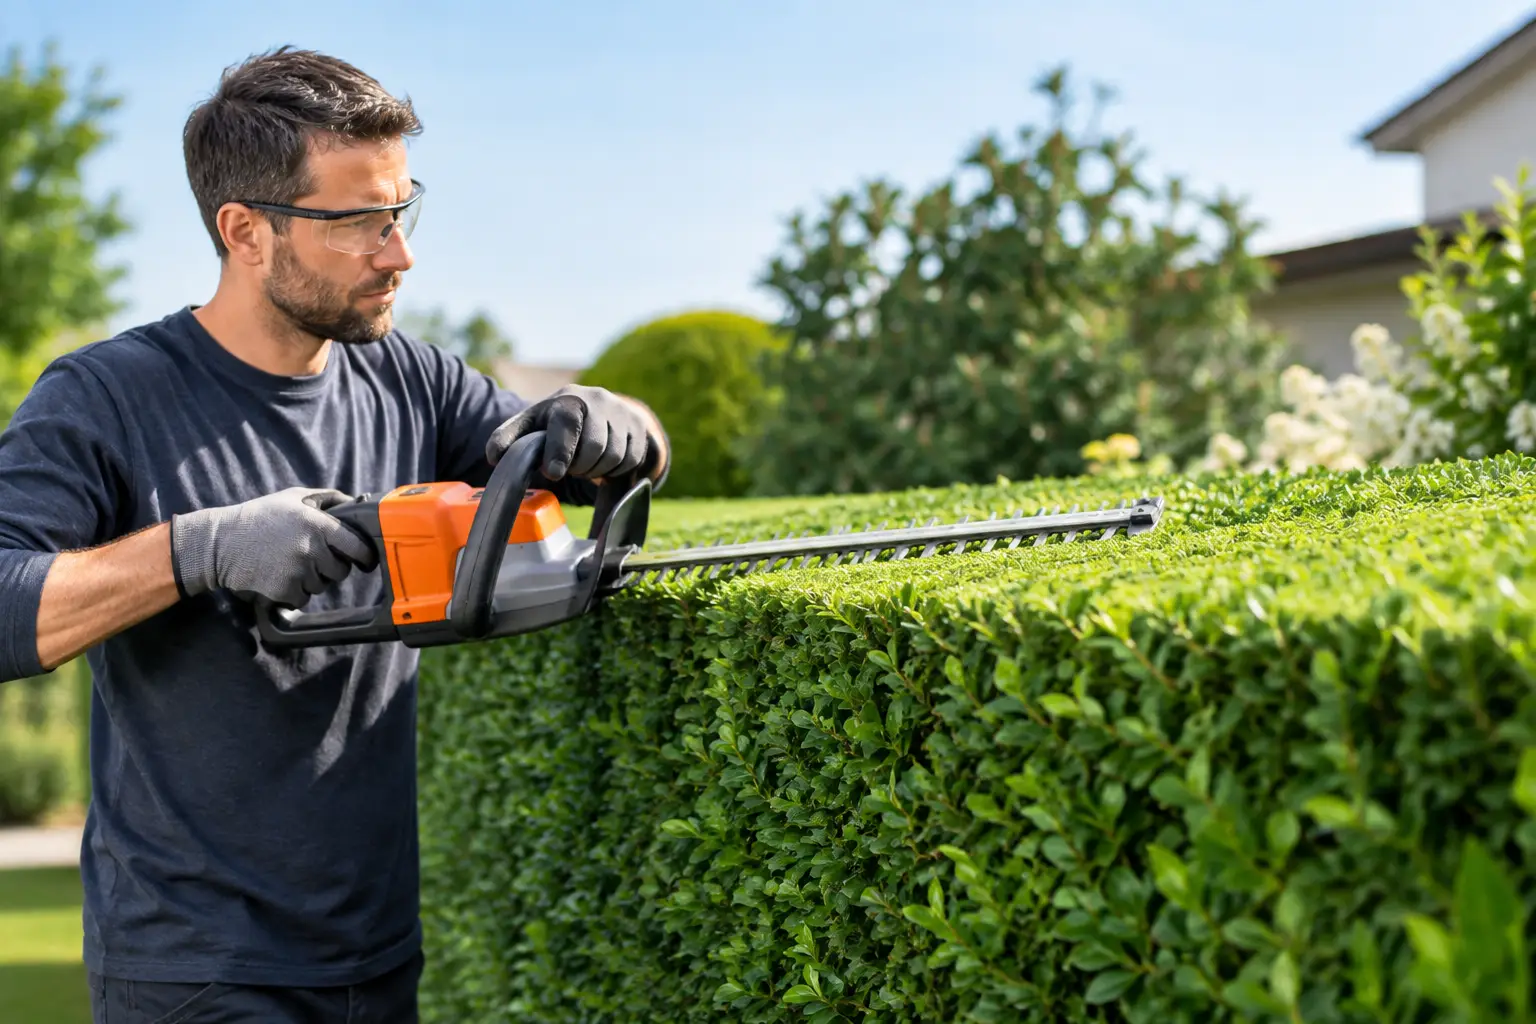
A hedge can look overgrown long before it looks unhealthy. A few uneven cuts, a rounded top where a straight line should be, or branches left hanging over a walkway can make an otherwise tidy property feel neglected. Knowing how to trim hedges evenly starts with setting a clear line before you cut, then working slowly enough to keep the shape consistent.
For homeowners, strata properties, and commercial sites, the goal is not to make every hedge look like a perfect green box. It is to keep it dense, healthy, safe around paths and driveways, and clean enough to improve the overall appearance of the property.
Start With the Right Shape for the Hedge
Before picking up the trimmer, look at the hedge from several angles. Decide whether it needs a light cleanup, a reduction in height, or a fuller reshaping. A hedge that is only slightly shaggy should be trimmed differently than one that has been left for a full season.
Most formal hedges look best with a flat or gently rounded top and sides that are slightly wider at the bottom than at the top. This small taper matters. When the top is narrower, sunlight can reach the lower branches. That helps prevent the bottom from becoming thin, brown, and bare over time.
A perfectly vertical hedge can work in some locations, especially where space is tight. But it often shades its own lower growth. If you are trimming a tall privacy hedge, even a subtle inward angle toward the top will usually produce a healthier long-term result.
Avoid taking too much off at once. If the hedge has grown heavily, reduce it over more than one visit when possible. Cutting deep into old, leafless wood can leave gaps that take a long time to fill in, and some hedge types may not recover well at all.
Set String Lines Before You Trim Hedges Evenly
The simplest way to get a straight result is to create a visual guide. For a formal hedge, place a stake at each end and run a taut string at the height you want the finished top to be. Step back before cutting to make sure the line looks level from the sidewalk, driveway, or main viewing area.
On long hedges, use additional stakes so the string does not sag. A sagging string leads to a sagging hedge. If the ground slopes, do not automatically follow the ground with one level line. Decide whether the hedge should remain level across the property or step down gradually with the grade. It depends on the setting and what will look most natural from a distance.
For the sides, you can use a second string line or simply use the first few feet of trimmed hedge as your reference. The key is to check your work often. Walk back 10 to 15 feet every few minutes. Small high spots are much easier to correct before the whole hedge is finished.
Use Clean, Suitable Equipment
A dull hedge trimmer tears leaves and leaves a rough finish. Clean, sharp blades make a noticeable difference, especially on broadleaf hedges where ragged cuts can turn brown at the edges.
The right tool depends on the hedge. Hand pruners are useful for selective cuts, small shrubs, and removing thicker stems. A hedge trimmer is better for broad, consistent surfaces. For tall hedges, an extension trimmer may be safer than standing on a ladder while handling a powered tool.
Before starting, clear the area below the hedge. Move patio furniture, toys, hoses, and anything that could catch a cord or become buried under clippings. Wear eye protection, gloves, sturdy footwear, and hearing protection when using power equipment. Check for irrigation heads, landscape lights, or wires near the base of the hedge.
If branches are thick enough to stop the trimmer, do not force the tool. Cut those stems separately with loppers or pruning shears. Forcing a hedge trimmer through thick wood can damage the blades and leave a poor cut.
Cut the Top in Controlled Passes
Start with the top, using the string as your guide. Keep the trimmer blade as level as possible and make smooth, controlled passes from one end to the other. Do not try to remove all the growth in one pass. Take a light cut first, step back, and then make another pass only where needed.
Hold the trimmer slightly in front of your body rather than reaching far out. Overreaching makes the blade dip or rise, which creates waves across the top. On a long hedge, work in manageable sections and overlap each section slightly so you do not leave raised seams.
For a rounded top, begin by reducing the highest growth. Then soften the corners with lighter passes. The common mistake is cutting too deeply at the corners, which can make a hedge look pinched or uneven from the front.
When trimming tall hedges, safety comes before appearance. Do not lean from a ladder while operating a trimmer. If the hedge cannot be reached safely from the ground with the right equipment, it is better to bring in a crew with the tools and experience to handle the height properly.
Trim the Sides From Bottom to Top
Once the top is set, trim the sides using upward sweeping passes. Begin at the bottom and move toward the top. This direction helps you maintain the slight taper that keeps lower branches exposed to light.
Keep the trimmer moving at a steady pace. Lingering in one spot can cut a hollow into the hedge. If a section sticks out, shave it back gradually instead of taking a deep bite. You can always remove more, but you cannot put foliage back.
Check the hedge from both ends as well as straight on. A side can look even from one angle while bulging from another. This is especially common along driveways, walkways, and fence lines, where the hedge may have grown outward toward the open space.
For informal flowering shrubs, a rigid wall-like shape may not be the right choice. These plants often look better with selective pruning that preserves their natural form. Trimming every shrub into a rectangle may be fast, but it is not always the healthiest or best-looking approach.
Work Around Seasonal Growth and Weather
Timing affects the finish and the health of the hedge. Fast-growing hedges may need several light trims during the growing season. Slow-growing types may only need one careful shaping cut and occasional cleanup.
Avoid heavy trimming during extreme heat, drought, or immediately before a hard freeze. Fresh cuts and exposed interior growth can be stressed by harsh conditions. Wet branches can also be harder to cut evenly, and clippings tend to clump on top of the hedge instead of falling cleanly.
In the Fraser Valley, steady spring and summer growth can make regular trimming worthwhile, particularly on privacy hedges around residential lots and common areas. Properties with blackberries, volunteer trees, or heavy brush nearby may need the hedge line cleared first. Otherwise, vines and woody growth can quickly undo a clean trimming job.
Finish With a Proper Cleanup
A neatly trimmed hedge still looks unfinished if clippings are left in beds, on sidewalks, or across parking areas. Rake or blow debris from the base of the hedge, then check the top for clumps of cut branches. Those clumps can block light and leave dead-looking patches underneath.
Remove trimmings from drains, walkways, entry areas, and lawn surfaces. On commercial and strata sites, this cleanup is part of the job. Loose branches can become a slip hazard, clog drainage, or make a maintained property look careless.
After cleanup, give the hedge one final look from its main viewing point. Look for high corners, low spots, and branches reaching into paths or sightlines. A final five-minute correction is often what separates a decent trim from a clean, professional-looking result.
If your hedge has gotten too tall, too thick, or too close to buildings and power lines, do not turn a routine trim into a risky weekend project. A careful plan, the right equipment, and regular upkeep will keep the hedge looking even without creating a bigger cleanup later.
Leave a Reply